Little ones who are past the baby stage but not yet grade-school age are what many parents find the most delightful and challenging time of childhood. At this stage, they're mobile, but they aren't aware of dangers. Even if you tell them a dozen times, they have to be on the older side of this age group to remember safety rules.
Toddlers and preschoolers are fully engaged with exploring the real world, but the border between what's real and what's imaginary is often blurred in their minds. Their perceptions are developing at warp speed, so they're often more easily frightened as well as more easily delighted than younger children are. The best rooms for toddlers and preschoolers celebrate the delightful aspects of this magical age. At the same time, they keep up with the challenges posed by curious, active little ones.
Advertisement
Toddlers and preschoolers have a lot in common -- especially their energy levels. But there are differences. One of the most important is that toddlers are not really able to appreciate complex visuals. If you have your heart set on elaborate wall murals or other detailed artwork, know up front that you will probably enjoy them well before your little one will. You may opt to wait until your child is a preschooler or even a bit older. On the other hand, you'll be spending a lot of time in your son or daughter's room, so if the decorating scheme makes you happy, that feeling will be communicated to your child.
If you decide to wait until your child is three or four, you can go all out with a favorite storybook theme both of you can enjoy, but you may still want to use a bit of caution. Expensive trompe l'oeil hand-painting rendered on a canvas or board and protected with polyurethane can be enjoyed for awhile and, when it's outgrown, saved for the next generation. If your youngster clamors for some cartoon image you expect will be a temporary thing, you may opt for posters and low-cost pictures. Tape up a few, or spring for colorful, inexpensive frames with clear acrylic instead of glass.
Whether you use hand-painted artworks or low-cost posters, do keep in mind that kids at this age don't know for sure what's real and what's imaginary. Stick with the happy, gentle aspects of classic nursery rhymes and fairy tales, and exercise even more caution with today's cartoon and movie characters. What may be exciting or merely interesting to a bigger child can be very frightening to a little one, especially if it's on view at bedtime.
Unless you and your child are truly smitten with some motif, you may find, as many parents do, that a design that merely suggests a theme may prove more appealing, longer. A forest, a beach, or another nature scheme is a surefire winner with both girls and boys and can serve as a background for a great variety of imaginative scenarios.
Even more versatile is a room scheme based simply on cheerful color combinations and patterns. With this approach, tomorrow's favorite toys and collectibles will fit in as easily as today's. In fact, since most kids don't make a clean break from one phase to the next, an easygoing design based on color will let several eras and enthusiasms coexist peacefully.
We're all more comfortable when a room physically fits the way we function, but when the occupant is a toddler or preschooler, the stakes are much higher. Because they're hardwired to learn about (that is, explore) their world as fast as possible, little ones can be in danger wherever their curiosity takes them, even at home. It's a good idea to accept that physical safety is up for grabs just about all the time with most toddlers, and things only get relatively easier with preschoolers.
You can hire a service to come to your home and childproof it or do a little research on your own to learn basic safety precautions. This article lists many of these precautions, but you may also want to "walk through" your space and put yourself at your child's level -- literally.
Admittedly, "kidproofing" isn't as much fun as decorating. But the bonus of making your home safe for a toddler or preschooler is that the rest of the family is likely to be safer, too. After all, antiscald devices in showers, nonslip rug pads and other common-sense tips make sense for everybody, don't they?
But form can follow function and still be fantastic, as you'll see in the delightful decorating ideas on the following pages.
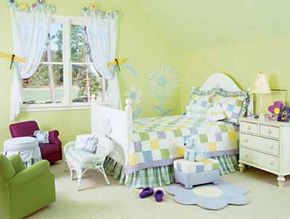
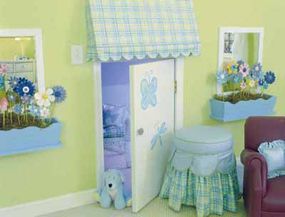
Fabric Fair Toddler Bedroom Decorating Idea
Once you've got all the elements of a room, this idea shows you how to tie them together.
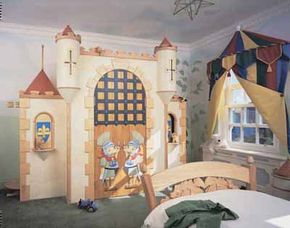
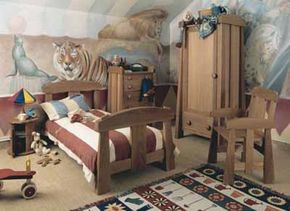
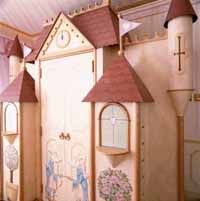
Castle Keep Toddler Bedroom Decorating Idea
This idea will make your young boy feel like a king, in his castle furniture.
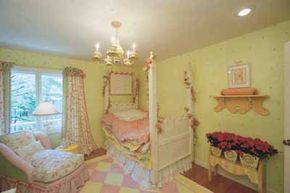
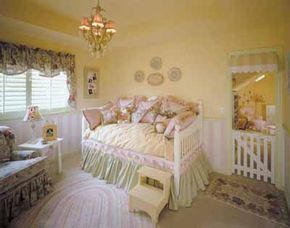
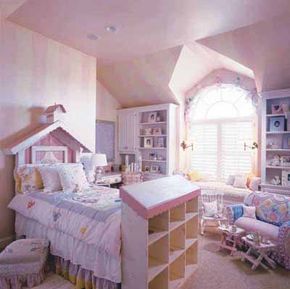
Feminine Charms Toddler Bedroom Decorating Idea
Use this idea to make your girl feel at home in her room through her toddler years and far beyond.
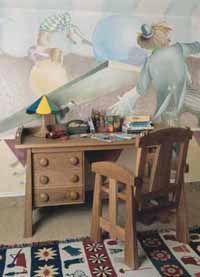
Step Right Up Toddler Bedroom Decorating Idea
Children's imaginations can transport them to the circus with a little help from this idea.
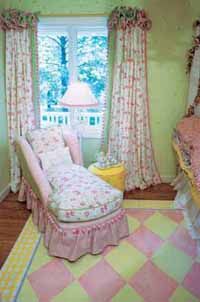
Garden Bright Toddler Bedroom Decorating Idea
This idea blooms into a decor that goes far beyond mere flowers.
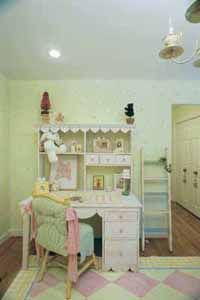
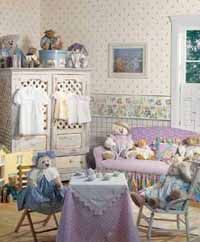
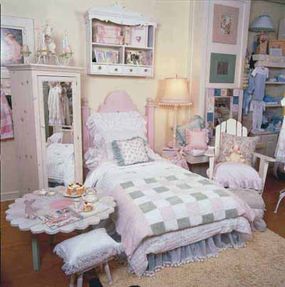
Girlhood Charm Toddler Bedroom Decorating Idea
Your active young daughter can stay connected to her feminine side thanks to this idea.
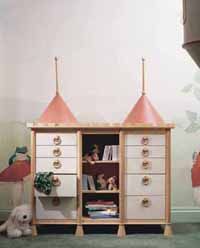
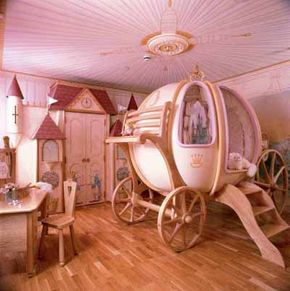
Princess in Residence Toddler Bedroom Decorating Idea
This idea blurs the lines between furniture and theater for your little girl.
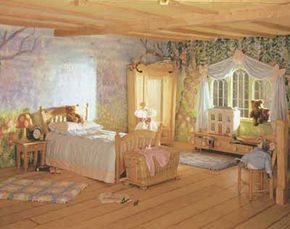
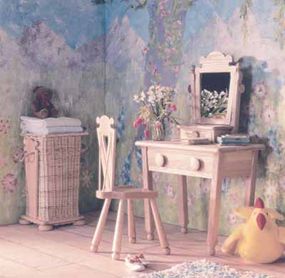
Fairy-Tale Forest Toddler Bedroom Decorating Idea
Your child can step out of bed and into an enchanted forest with this idea.
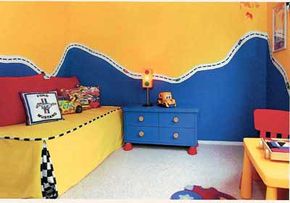
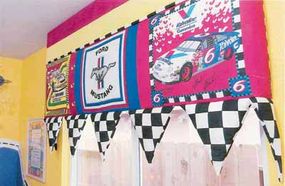
Raring to Go Toddler Bedroom Decorating Idea
Begin on the next page with a design that uses colorful fabrics to create a look that will be loved by a young girl.
For more decorating ideas, see:
Advertisement