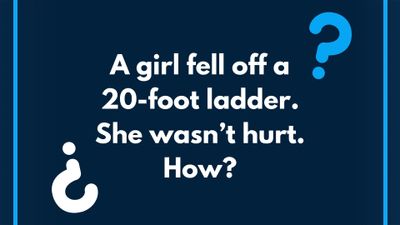
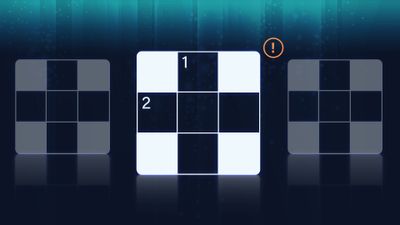
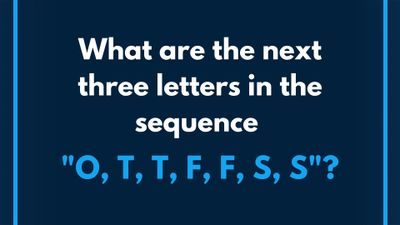
How to Install Paneling

If you want a way to cover up badly deteriorated walls, finish off a basement room, or give any area a new look, consider wall paneling. You can buy plywood paneling that is either finished or ready-to-finish. Or, you can buy hardboard panels that simulate various finishes.

You can apply panels directly to the wall studs where you have new construction, but because the panels are thin and not soundproof, it is best to provide a drywall backing. Many building codes require a drywall backing, especially in basements. If you decide to apply paneling directly to the studs, make sure that the studs are free of high or low spots. To install paneling on existing walls:

Step 1: Remove the molding and trim and check for high or low spots by moving a long, straight board against the wall and watching for any gaps as you draw it along.

Step 2: Build up any low spots with drywall joint compound, and sand down any high spots. Note: If the walls are cracked or very uneven, attach paneling to furring strips. Masonry walls must always be furred and waterproofed. (Instructions on installing furring strips are in the next section.)

Step 3: Stack the panels in the room to be paneled with strips of boards between each one. Leave them there for at least 48 hours before installing them to allow the panels to adjust to the moisture content of the room.

Step 4: Once the panels are stabilized, lean them against the walls, matching the wood graining in the most pleasing manner. When you have the panels arranged the way you want them, number the panels on the back side.

Step 5: As necessary, cut the panels to fit their position on the wall. If you are using trim molding, the fit at the floor and ceiling doesn't have to be as tight as for panels without trim molding. Also, make sure that panels at room corners are cut to fit well, as most corners aren't perfectly plumb (vertically level).


Double-fur uneven walls with a second layer of horizontal strips. Shim as necessary to smooth the grid.

Images © Publications International, Ltd.
To install furring on relatively smooth walls, put up vertical strips, spaced 16 inches apart, then cut short horizontals to fit at top and bottom.
Step 6: If you plan to nail the panels, use 3d finish nails to attach the panels to furring strips or wall studs. (Colored or prepainted finish nails can be used to approximately match the panel color.) Drive nails about every 6 inches along the edges of the panel and about every 12 inches through the center. If you are using panel adhesive, run a ribbon of adhesive across all furring strips or in a similar pattern on the wall surface. Place the panel against the wall or furring strips and press it down, then pull it away from the wall and reset it to distribute the adhesive for a better bond.

Step 7: To cut paneling out for a door or window, use a large sheet of paper to make a pattern. Use this pattern to transfer the marks to the panel. Tape the paper in place, press it against the door or window frame, mark it with a pencil, and use scissors to cut it to size.

Step 8: To make cutouts for electrical outlets or switches, trace the outline of the switch or outlet box on the panel and drill pilot holes at opposite corners. Then use a keyhole saw to connect the corners with a saw cut.

Step 9: Finally, apply finish molding as described earlier in this chapter. Be sure to countersink the nails and fill the holes with matching wood putty.

Installing Fur Strips
Furring strips are 1 X 2s or 1 X 3s that are nailed or glued to the wall, with pieces of cedar shingle under them to even up low spots. Use 1 X 3s because they provide a better bearing surface and are easy to install.

The amount of furring depends on how uneven your walls are. If they're smooth, with a variation of only 1/2 inch or so between high and low spots, you need only put up vertical strips, nailing or gluing them over studs and compensating for low spots by wedging shingles under the strips. Then cut short horizontal pieces to fit between them at floor and ceiling level.

If your walls are very uneven, you may need to double-fur them. With double-furring, you create a grid with two layers of strips. Start by nailing up vertical strips, spaced 16 inches on center from floor to ceiling. Even these up as best you can with shims and note any problem spots. Next, install horizontal strips, spaced 16 inches from center to center. Nail these to the vertical strips, further shimming as necessary to smooth the grid.

At electrical wall switches and outlets, you'll need to compensate for the increased thickness of the wall. Remove the cover plates and reset the electrical boxes out the necessary distance. Caution: Turn off the electrical power to the circuits you are working on before removing the cover plates.

Drywall is another popular type of wall surface. The ins and outs of installing and repairing drywall are outlined in the following section.